Search This Blog

Showing posts with label cheese. Show all posts

Saturday, February 15, 2014

Jalapeno Cheese Sausage with Beans and Rice Royal

This is one of those recipes you throw in the crock pot for 10 hours on low heat and never touch it again.  (You're welcome)   Here is what you are going to need:

  • 1 pound of link jalapeno/cheese sausage, cut into small bites
  • 1 pound of red beans dry
  • 8 cups of water
  • 4 celery stalks chopped
  • 2 teaspoons of garlic minced
  • 1/2 green bell pepper chopped
  • 1/2 red bell pepper chopped
  • 1 small onion, chopped
  • 2 Tablespoons of Creole Seasoning or 3 if you don't use jalapeno sausage
  • 3 cups of uncooked Rice Royal, cooked to package specifications right before eating
    This entire recipe with serve 8. The 3 cups of uncooked rice will serve 4.  It is way better the next day, so I will cook 3 additional cups of rice for left overs.
 
Place ALL ingredients, but rice, in the crockpot on a low heat if you cook it for 10 hours, and medium for 8 hours.  If you cannot find the Rice Royal, we prefer Wild Rice with this recipe but cook whatever rice you prefer.  (rice royal is a blend of white, brown, red and wild rice)
 
After cooking is complete, serve over rice and enjoy!


This is such a great winter recipe for your family! 
 And, it is naturally gluten free...
 

Thursday, January 30, 2014

Chicken and Tomatillo Enchiladas (Gluten Free of course)

I usually take pictures as I go and give step by step instructions, but when you are making enchiladas you have several things going at once so I will give you the recipe all at once with pictures sprinkled in little by little....These are so great and there are some wonderful tips along the way.  Let's go, it's almost supper time!

Here is what you will need:


  • 3 chicken breasts
  • tomatillos, papery husks removed, rinsed
  • 1-2 serrano chile peppers, prick with fork or knife so flavor releases in boiling
  • 2 cloves garlic
  •  1 small onion
  • Salt 
  • Cilantro to taste (my family doesn't like it too much)
  • 1 bunch cilantro, rinsed and chopped, stems included
  • canola oil or peanut oil
  • 12 corn tortillas
  • 1/2 cup sour cream
  • 1/4 cup queso fresco cheese & 1/4 cup sharp cheddar  (or your choice of cheese to 1/2 cup)


1. Put chicken medium sized saucepan and just cover with water. Add one clove of garlic that has been cut in half, 1/4 of an onion, and 1 teaspoon of salt to the water. Bring to a boil, reduce to a low simmer, for 20 minutes or until the thickest piece of your chicken does not show pink when cut into,  Remove chicken from water and let cool.


2. While the chicken is cooking, put the tomatillos and serrano chile peppers in a separate sauce pan and cover them with water. Bring to a boil, reduce to a simmer. Simmer until the tomatillos are cooked, and have changed color, but are not mushy, about 5-7 minutes. Remove from heat. Transfer tomatillos and serranos to a blender. Add 2 cloves of garlic, a third a cup of your chopped onion, and about 1/4 cup of chopped cilantro. (Remaining chopped onion and cilantro will be used for garnish.) Add one teaspoon of salt. Purée until completely blended. Taste for heat. If not spicy enough add another chile pepper (doesn't have to be cooked). Note that sour cream will eventually be added to the sauce which will cool down a lot of the spiciness. Add more salt to taste if necessary. 


             This sauce is a beautiful color!


 3.  Get our your hand mixer, yes...I said hand mixer!  Turn it on medium speed and place it on top of the whole chicken breasts.  It will begin to shred and you will be so happy with me!   Put the chicken in a bowl and add 1/2 cup of the tomatillo sauce to the chicken. Taste the chicken; if it needs salt, add a little.


 So much quicker than using forks to shred!


4.  Cover  the bottom of a pan with oil and raise to medium high heat. Add a tortilla to the pan and use a metal spatula to flip it to the other side. Place another tortilla on top of this one (to soak up the excess oil) and flip again, then remove them to a plate lined with paper towel. You only need to soften the tortilla for rolling.  A few seconds on each side. When your tortillas are cooled, scoop a spoonful of chicken into the center of the tortilla and roll up the tortilla. Place your enchiladas in a greased baking dish.

5 Heat the other half of the salsa verde sauce until simmering, then remove from heat. Stir in the sour cream until well blended, and pour salsa verde sauce over all of them. Top with chopped onion, cheese, and cilantro. 

Serve immediately. Serve with extra garnishes of onion, cheese, and cilantro on the side. 

 On occasion, I will make roast a few days before I make enchiladas so I can make a small batch of beef enchiladas.  I just shred it, add my home made hot sauce to the beef, and a nice shredded SMOKED cheese.  Easy and great for those who don't want just chicken.  

Tuesday, March 19, 2013

Gluten Free Corn and Tomato Pie

 This is such a great dish for a brunch, or a side dish for a grilled meat.  You will not need bread because it's a PIE!  Crazy... I know.  I did not use the pre-made crust, I made Namaste's gluten free Piecrust.  Their regular recipe either makes 1 deep dish with a thick crust, or 2 regular pies with a thinner crust.  I made two pies as they seem to cook better throughout and you can add different ingredients to each based on your taste.
Here is what you will need:  pie crust, or crusts of your choice.  5 ears of corn cut from the cob, 2 large tomatoes, 1 cup shredded cheddar, 1/2 cup parmesan,  3 Tablespoons olive oil, 3 green onions, 1 seeded jalapeno pepper, 2 cloves garlic, 1/4 cup milk, 3/4 cup heavy cream, 3 eggs, salt and pepper to taste.  If you want to have a different cheese topping for one pie like I did, you can!  I used 5 slices of jalapeno jack for the topping of one pie & parmesan for the other.
Shuck your corn, wash and then cut it from the cob and place in a bowl.
 
Make your pie shells and bake them at directed temperature until ALMOST brown.  Like I said, I used GF and when working with a GF baking/pie mix keep your fingers moist to shape as these crusts can be dry.
While your crusts are in the oven, chop your green onions, seed and chop your jalapeno, and mince your garlic.  Place in a pan on a medium heat with your 3 Tablespoons of olive oil.


You will cook your onion, garlic and pepper for about 5 minutes and then add 1/4 cup water and your corn to the pan.  Stir & cover. You will saute this corn mixture for about 10 minutes.  (You don't want to cook the corn too long or on too high a heat)  While this is cooking, whisk your milk, eggs, and cream in a bowl.  Set aside.
Remove corn mixture from the pan, and drain.  Salt and pepper to taste while warm, then toss. 
Slice your tomatoes.  Preheat oven to 375 degrees.
Take the pie crusts and begin to layer:  1 cup corn, cheddar, 1 cup corn, top with tomatoes, then your last cheese.  (Parmesan or cheese of choice, I used Parm & Jalapeno Jack)
 
 
Pour your cream mixture over the top and bake at 375 degrees for about 20-25 minutes or until your center is firm.  I turn the oven off at 20 minutes and let them set in the oven.  (but your oven may be hotter or just different...so keep an eye on them if you do this)
Here is the final product.  Wait to serve until pies have cooled for about 30 minutes.  They will still be warm but not runny in the center.  


 **Sarcasm Note- I'm not certain how these GF crusts are going to turn out, they may be a catastrophic sucess....Your guess is as good as mine!

Wednesday, February 13, 2013

Gluten Free Zucchini Lasagna


This Lasagna is really tasty and you can hardly tell it is not made with pasta.  The trick is the zucchini!  It is basically a tasteless veggie and takes on the flavor of what you cook it with, (like tofu but better!)  The only problem with this vegetable, is it creates a TON of water when cooked.  But its hardly a reason to NOT make this recipe!
Here is what you will need:  4 zucchini, 1 lb LEAN beef, 3 garlic cloves chopped, 1/2 purple onion diced, 1 T. olive oil, salt and pepper, 2 T. fresh basil chopped, 15 oz skim ricotta, 16 oz mozzarella cheese shredded, 1/4 cup Parmigiano, 1 egg slightly beaten, 1 28oz jar of Prego spaghetti sauce (or sauce of your choice)and 4 oz of fresh mozzarella for the top :)
First, things first Peel your zucchini, and then thinly slice it long ways to substitute for you pasta. I am not big on kitchen gadgets, and do not have a mandolin for slicing; so I cut them with my knife like my grandmother would have!  They were perfect. 

I think young cooks tend to over season their meals, masking the natural tastes. You cannot go wrong with a nice freshly ground pepper, sea salt and a few fresh leaves. 

After you get your zucchini sliced, lay it out on a non stick cookie sheet, lightly salt, and put it in a preheated oven at 350 degrees for about 10 minutes.  It will help with some of the water later on as it cooks in your lasagna.  


While your zucchini is in the oven, brown your hamburger meat, drain, and add salt and pepper and set aside.  In the same pan, add olive oil on a medium heat to saute your garlic and onion for about 2 minutes.  Add your drained meat back to the pan with the garlic and onion along with your Prego sauce. You may not want to add the whole jar because you want it to be thickSimmer to heat throughout.  Take out your zucchini if you have not already;  and lay it out on a nice clean kitchen towel to soak up any water.  

While your sauce is simmering, grate your fresh cheese and set aside.  I just spent 2 weeks in Italy and their mozzarella is the BEST. But this brand is made in Wisconsin and I find it to be very similar. In the grocery store your fresh cheeses are not going to be with the pre-shredded bags but in or near your deli. 

In a bowl mix your ricotta, basil, salt and pepper to taste, egg, parmesan, only 10 oz of shredded cheese (not fresh), & mix together well.  So: you have your meat mixture in your pan, your zucchini on a towel, your bowl of cheeses, and your fresh mozzarella plus 6 oz of pre-shredded cheese.  Now to layer for some yumminess.  (yes it's a word) 

1.  Lay down a layer of zucchini
2.  Top with meat sauce mixture
3. Top sauce with cheese mixture and repeat 
4.  If you have a large pan you may only get one layer, no problem! 
If not, repeat 1-3
5.  Last, top with all of your fresh mozzarella plus the 6oz of pre-shredded mozzarella

Bake at 350 degrees for 45 minutes COVERED with a pan underneath for spillage.  Then bump heat up to 375 degrees, remove cover and cook for an additional 15 minutes.    

Yummy in the oven, don't forget to cover...
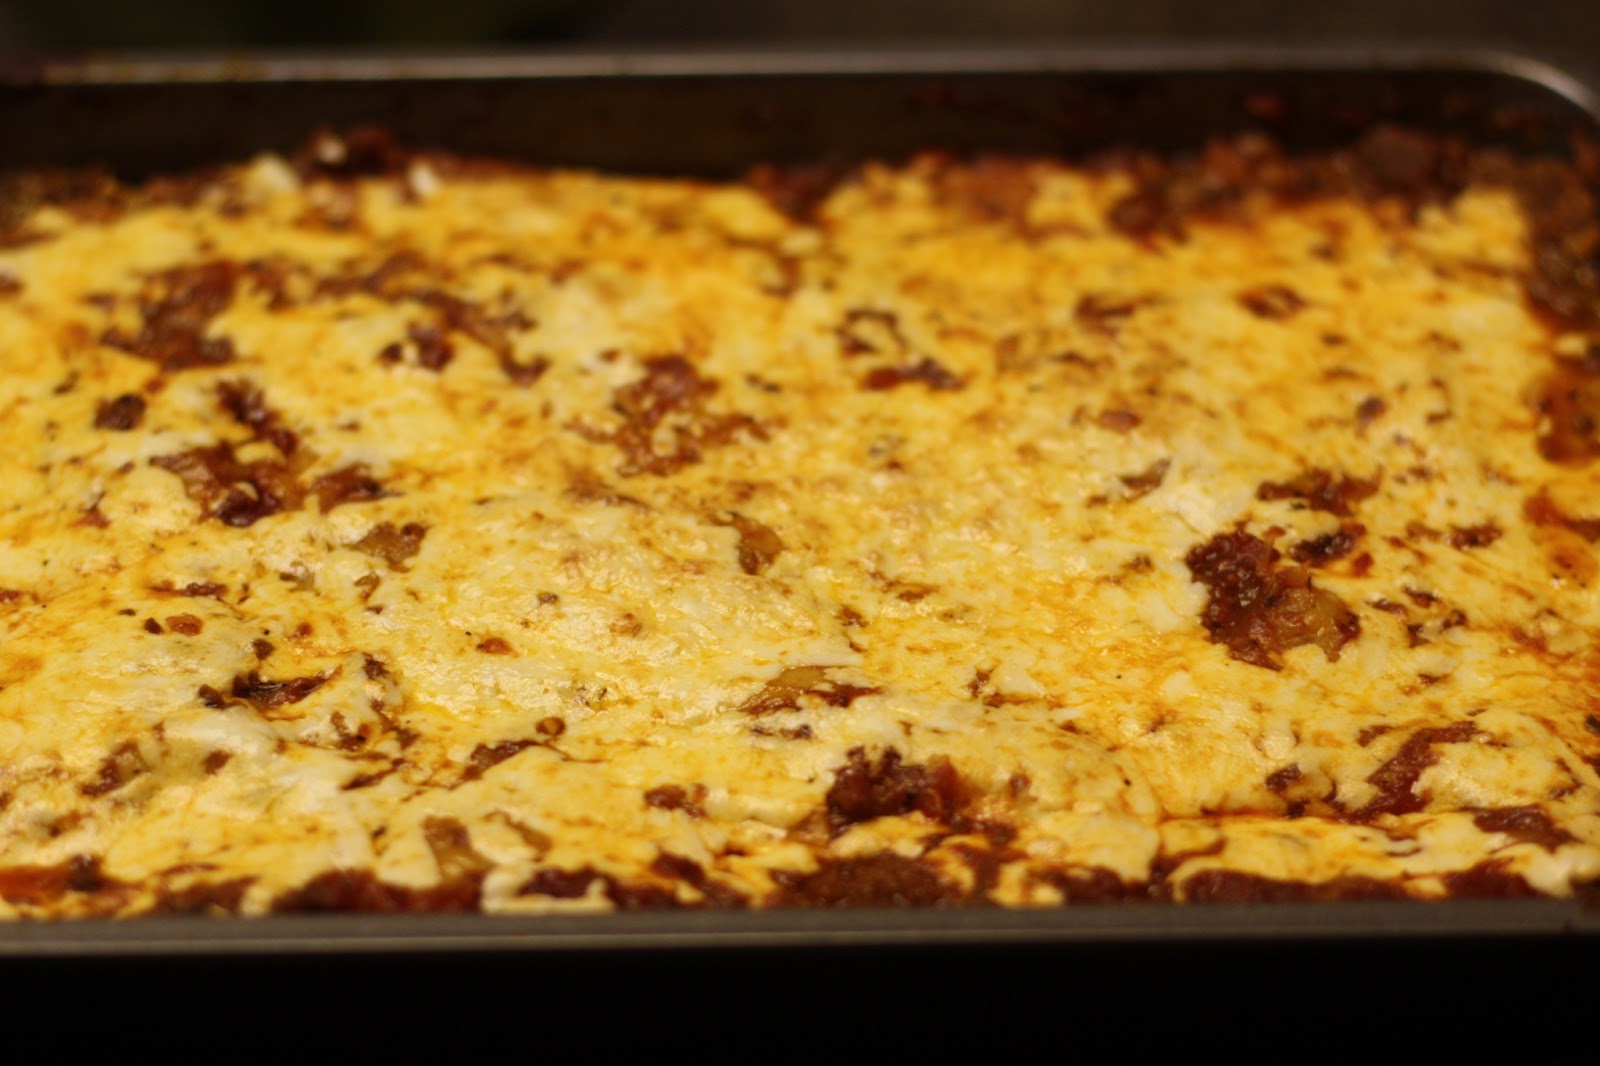
Looks so good right?  Well let me give you a hint...take it out and use a spoon around the edges to scoop off some water.  And when I say some, I mean 87 cups!  (remember the name of my blog?....sarcasm) I even cut a piece out, tilted the pan and let it run to the open spot before serving. It  has to cool before serving anyway, so you have time.


I cannot tell you how much my family loved this recipe.  They never noticed the zucchini in place of the pasta until a few bites in because I'm tricky!  I served it with a nice spinach salad and vinaigrette dressing. I even made a loaf of gluten free bread we could have eaten, but they didn't ask and I forgot.  It stood alone well!

Sunday, February 10, 2013

Frittatas

So what is a Frittata?  It is an Italian omelet.  Some people will tell you it is the difference between folding in your ingredients with your eggs vs. laying them on top, some say the thickness, and some say it is how it's cooked or sliced.  Be real....it's an omelet.  Period.  Get over it. To prove my point, my very educated husband asked what we were having for supper and I told him, "Frittatas".  He was so excited! We ate, and he said, "that tasted and looked just like an omelet, but really good!"  (he's no dummy)


Now we have the truth let us begin to cook!

You will need about a dozen eggs, 2 cups of cheese, 1 medium tomato, fresh spinach and basil, green onions, golden Yukon potatoes, red pepper, salt and pepper.  By now, you must realize I want you to add the amount of each ingredient based on how many you are feeding and how much you like.  For Frittatas, you will not need much of any of these.  So if you have regular potatoes and don't want to use Yukon-DON'T! 

I KNOW the secret to a fantastic Frittata is the CHESSE.  Period.  I love garden jack and you can usually find it among your specialty cheeses.  Also great for this recipe is feta, but  choose your family's favorite. 


I was having a Bible study and wanted make something easy to eat so I put these in muffin tins. I cut up about 1/4 of my red pepper, 3 green onions, and THINLY sliced the yukon gold potatoes, added salt and pepper and with 2 tablespoons of butter, placed them in the microwave for about 2 minutes.

Shred your cheese, add to your bowl of microwave softened veggies, add your tomato, spinach, basil, eggs and beat well until combined.  (mushrooms are also great in your frittata)
I decided to add two eggs for each person, which turned out perfect with no BIG eaters
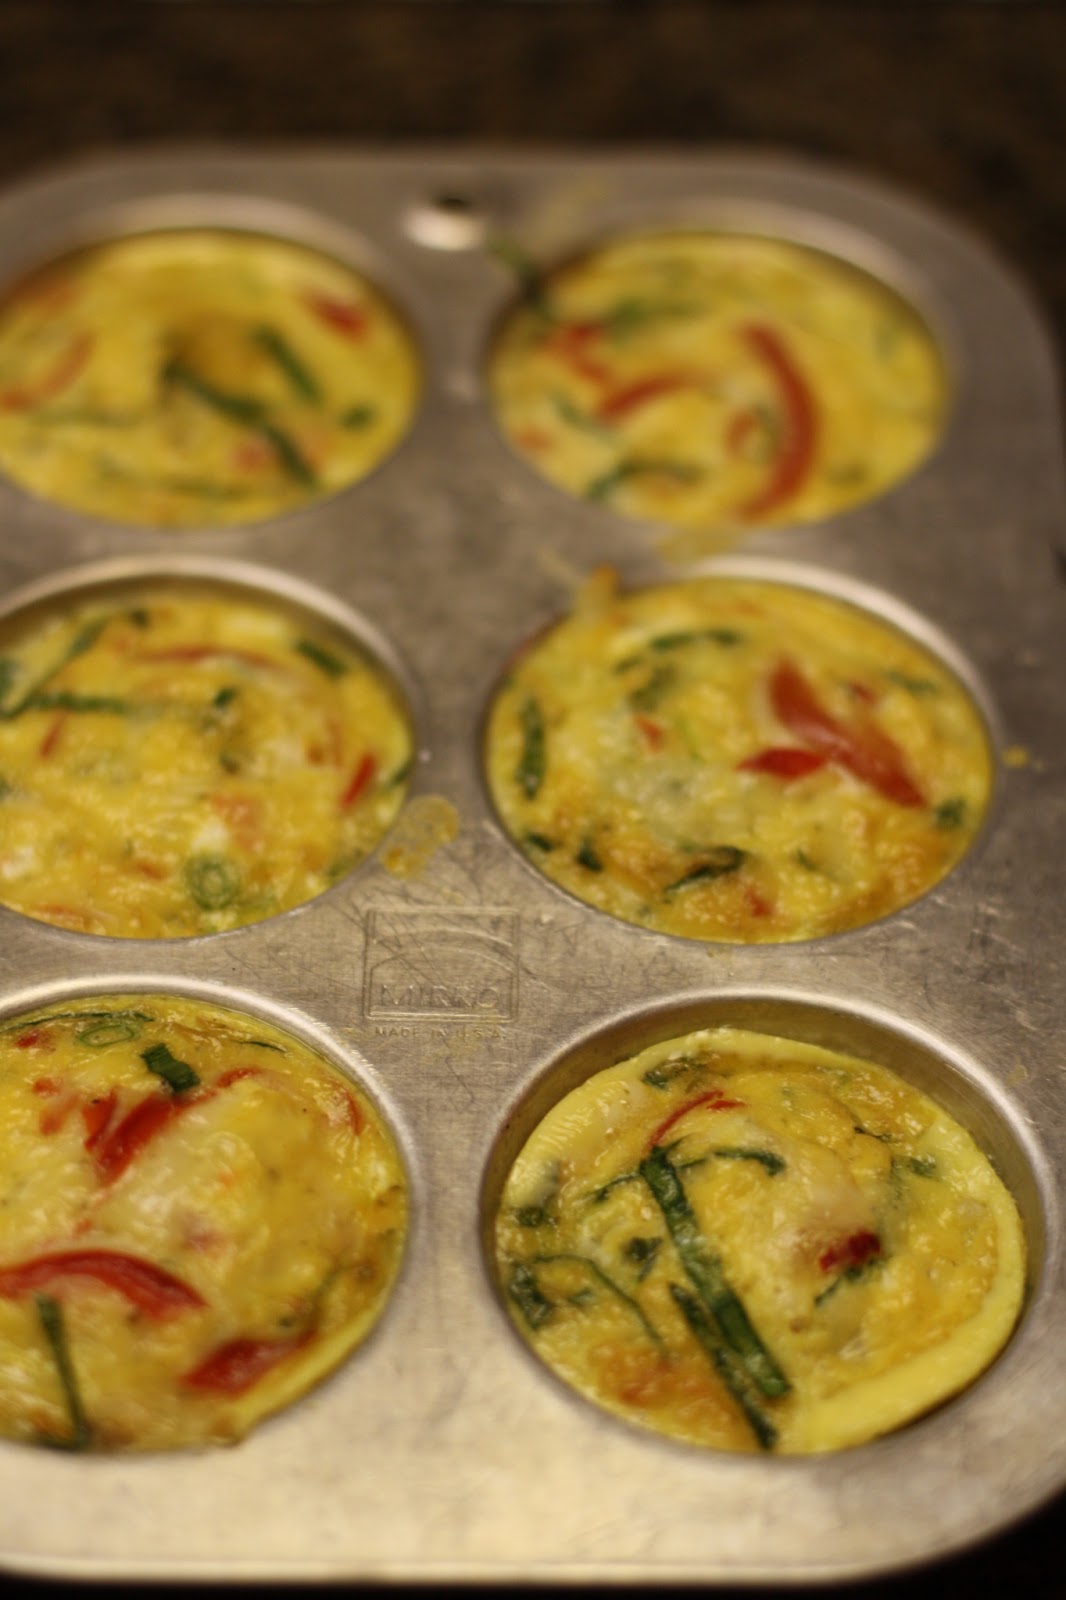
It is such a beautiful dish!  Even though I chose muffin tins which make about 16 with 10 eggs, you can also do a skillet until cooked on the bottom and then put in the oven on broil until the top is firm. 


I tried to use my olive oil in the spray bottle to coat my muffin tin, but it DID NOT WORK!  They stuck somewhat around the edges so just use your PAM or other spray.  


Bake at 350 degrees until your eggs are firm.  I served with gluten free toasted bread and fruit.  You cannot go better than healthy and gluten free!  ENJOY! ***NOTE no chickens were harmed in the making of these Frittatas


Saturday, February 2, 2013

Gluten Free Pollo Picante


My husband went to medical school in Galveston Texas at the University of Texas.  We had no money, honestly we had less than no money, we owed everyone!  I was working at 2 hospitals, 3 offices and cleaning a house totally 70 hours a week and still we could only afford one luxury per week.  So, without a doubt it was an all you can eat joint!  Every medical family on the island was at Yaga's on Tuesday nights...it was heaven.  The Strand in Galveston was a great place to be during the week away from the main landers on weekends.  (With the many hurricanes I hope Yaga's remains)
 Yaga's served, at the time, many different types of shrimp and one awesome dish of chicken and a few fish dishes.  The starving medical students went for the all you can eat shrimp, and I had Pollo Picante.  I must add, by the time the boys graduated, Yaga's cut out the all you can eat Tuesday Shrimp Night.  After all those nights, approximately 208, I became friends with the cook and he told me how to make his famous Pollo Picante!  Thank the Lord I got something out of four years of 70 hour weeks, no sleep, and being a test subject for every one of my husband's unmarried friends.  I've slept through many otoscopic, opthalmascopic and reflex exams. Those days are a blur...

But we are still eating pollo picante 'from' YAGAS!  And now you can too
Here is what you need: 
chicken breasts for as many as you are serving, 1/4 cup of hot sauce of your choice per breast, 1/2 cup of cooked rice per chicken breast, 1/2 cup cheese of your choice (I use pepperjack or cheddar), salt and pepper to taste. 

Preheat oven to 350 degrees

Salt and pepper your chicken, top with picante sauce of choice, and bake for 20-30 minutes until cooked throughout


I'm not going to lie...I take the chicken out of that white, cooked, jellied substance surrounding it from cooking and move it into a smaller pan at this point.  Then top with rice and your cheese and pop it back into the oven until the cheese is melted.
Such a great and EASY dish.  This particular meal I served only with a spinach salad; but in the summer I usually grill potatoes like they do at Yaga's.


Thursday, September 22, 2011

Zucchini Cakes

This is super easy so here it goes!  Grate up one large zucchini and really pat out the water in it or it will not stick together to form your cakes.  After it is good and dry add one cup of freshly, grated Parmesan cheese.

Then add 1 cup of bread crumbs,

Each of these, to your particular taste:  salt, pepper, paprika and garlic powder

Add two beaten eggs, then mix it together and make 'cakes' out of the mixture.  I made a ball a little smaller than the size of my palm and placed it in a hot pan with  two Tablespoons of olive oil and mashed it flat.  Cook on each side until brown and then turn to low and let simmer in the pan so that the cheese melts and the zucchini softens. 
These little puppies were fabulous!  I served them with baked chicken, corn on the cob, and fresh tomatoes from my garden.  It was such a tasty dish and I think it is because it is so simple and the flavors are not overwhelmed.  


Note of Sarcasm:  It's so awesome to have no left overs when you cook something so tasty!

Thursday, July 14, 2011

Home Made Mozzarella Sticks

Ingredients: string cheese sticks, wonton papers, pepperoni if desired


Instructions:  Instead of giving you step by step instructions, Sarcasm Note: I'm so great at detailed instruction I know this makes you sad :(  I'm going to show you pictures instead


Wanton papers found in the produce section are what you roll the cheese with
Cheese stick of choice. I cut some of them in half and they did great!
                                                                    
                                                                 
I tried MANY different ways, this worked best!  3 papers on the angle
I added pepperoni to some of the sticks and the kids loved those the most
                                       
It takes a little water to "seal" the paper  prior to frying.  Fold the ends and wet those too
It does not take 1 minute to fry these, wonton paper is really thin so keep a close eye on them


This is your final product!  Really easy and quick snack.  You could also do little 'bites'!

Sarcasm Note:  I'd much rather have these than go to Chili's because these don't really melt inside.  I enjoy cooking them and then popping them in the microwave for the melt...