Search This Blog

Wednesday, November 20, 2013

Gluten Free Creamy Wild Rice and Chicken

This stuff is so stinking amazing it will make you want to set in a closet, with a spoon, by yourself and eat it alone. All of it.  Problem is, the people in the house you call family, can smell it cooking! Let's just jump right in...

Here is what you need...
2 1/2 pounds boneless chicken breasts or a whole chicken d-boned,  poultry seasoning if you use a whole chicken,  salt and pepper to taste, 3 T olive oil, 1 large clove of garlic, 3/4 cup of onion, 3/4 cup of fresh chopped mushrooms, 1/4 cup of dry sherry,  1 & 2/3 cup of broth saved from boiling your chicken, 1/2 cup sour cream, 3/4 cup cream, 1 box uncle Ben long grain wild rice any flavor you choose, 1-1/2 t of sea salt, a 375 degree preheated oven, several appetites. 


 Slowly boil your chicken breasts on a medium low heat so they are nice and tender.  When I boil a whole chicken (rarely) I douse it with chicken seasoning so it doesn't stink up my house.  When your chicken is cooked remove and cut into chunks but save your stock. I put mine in mason jars and keep in the refrigerator for other gluten free recipes.
When your chicken is cooked cut it into bite sized pieces.  

Dice your onion and garlic.  Heat olive oil and sea salt in a pan and place onion first and then garlic.  When they are almost transparent, add your chicken and combine well.  Remember, everything is already cooked and you are just combining them.  Remove from pan and set aside. 


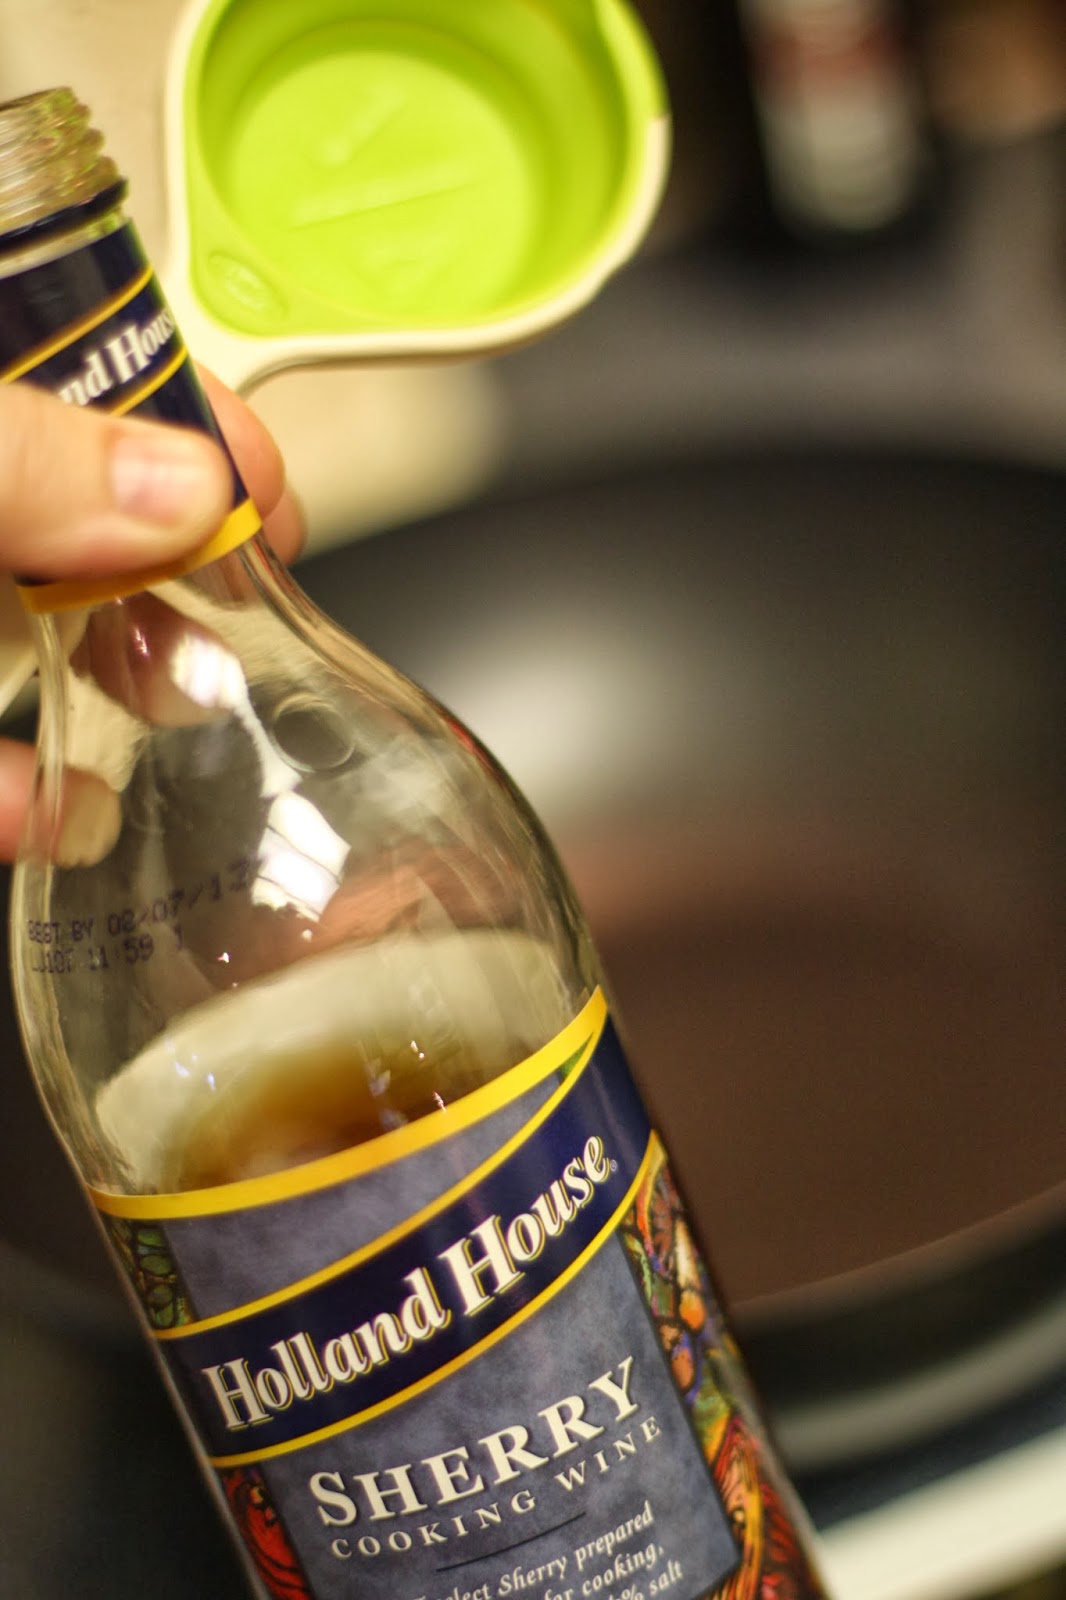
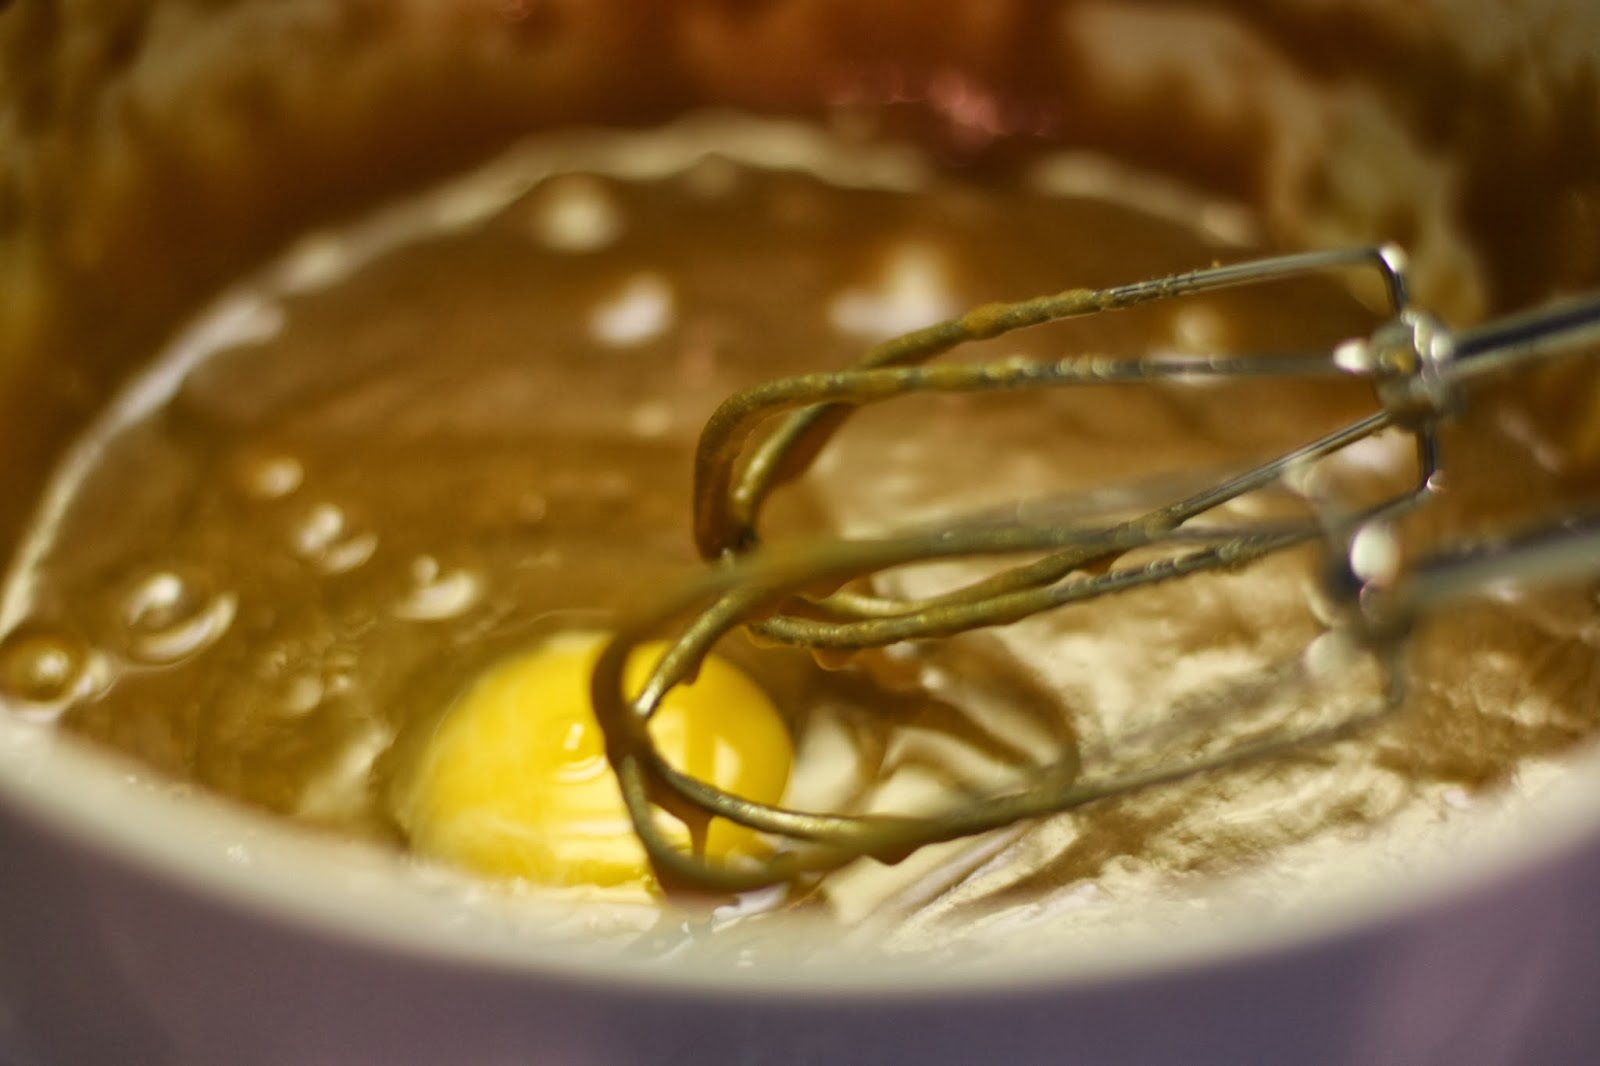
                                                                     Add your cooking Sherry to the pan and reduce it to a tablespoon.  When reduced, add your broth and heat on medium low. Once it is heated thoroughly, add both your creams and whisk. While this is simmering pour your rice in the casserole dish, and sprinkle the seasoning packet evenly over the rice.  Then, put your chicken on top of the rice, along with diced mushrooms. 
Now, pour cream mixture on top of the chicken. 


Do not panic!  This is not going to be too soupy, the rice is going to soak up this cream and broth like a sponge.  

Trust me! 
Cover very tightly so the steam helps cook the rice.  Cook at 375 for 40 minutes.  If there is more liquid than you would like, remove the foil and cook a little more, but be careful it will evaporate quickly.  If you find it is more dry than you would care for, add some of the left over chicken broth and mix it in.  But it should be PERFECT when you remove it.    
  You are going to love this recipe.  Yes it is a little involved, but totally worth it! 

Baked Coconut Chicken

Being Gluten free is a difficult when you would just like to have some crispy chicken!  No quick panko breadcrumbs or flour unless you use gluten free versions and at the time of this recipe, I did not.  So, I used what I did have and it turned out wonderfully and quite tasty if I do say so myself.

All you need is:  3-4 chicken breasts cut in half end to end to make them thinner, about 1/2 cup of coconut, and 3 Tablespoons of coconut oil.  Preheat your oven to 300 degrees as you chicken is really thin.  This is so quick and easy it's crazy!

Put your coconut in a food processor to make it really ground up like bread crumbs


Cut your chicken from one end to the other make two thin pieces out of it.

while your oven is preheating, put your coconut oil in the pan you will be using, and after it is melted coat the top of your chicken with the melted oil and then your coconut.  Cook at 300 degrees until the coconut is toasted.  With the chicken being so thin, it is well cooked by the time your coconut is browned. 

I just served with a brown rice, nice green salad and my quick gluten free cheese rolls. 


Tuesday, November 19, 2013

Gluten Free Pumpkin Muffins with Cream Cheese

A few  recipes I am cooking this month are from Simply Recipes' website by Elise Bauer.  She doesn't know I creep on her site almost daily and adore her cooking; especially her gluten free section.  I don't care for recipes created in a cold, white lab by people who work for a certain food company.  I want recipes from a kitchen, a garden, cooked wearing an apron and thoughtfulness for people you love.  Now, I don't always follow her recipes to the T, I change things at times based on the likes or dislikes of my family and this is one of them.

So if you are gluten free, or watching your gluten this is actually a baking project in which you do not have to mix your flours & an all-purpose GF will work just fine! There are several different sweeteners involved but you are going to love the result.  My advice?  Double the recipe while you're at it, and freeze half of your batch after baking.
 Here is what you need:

1/2 cup of unsalted butter, 1 cup packed brown sugar, 1 T honey and 1 T molasses, 2 eggs, 1 t. vanilla extract, 8 oz of pumpkin puree, (or if doubling,  1- 15 oz can is fine) 

2 cups gluten free flour, 1/4 t baking powder, 1 t baking soda, 1/2 t salt, 
1- 1/2 t pumpkin spice

1 /2 cup milk with 1/2 T of lemon juice added to it. (if you don't have buttermilk and a recipe calls for it this is the substitution) if you want nuts or raisins (or both) in your muffins you choose the kind and the amount.  I put walnuts in my second batch.

For a cream cheese frosting just blend:  8 oz cream cheese, 1/4 cup unsalted butter both softened, with 1/4 cup maple syrup and 1 cup sifted powdered sugar.  
---------------------------------------------------------------------------------------------------------- 
Preheat your oven to 350 degrees and let's put these together! 

  With a mixer, beat the butter, molasses, brown sugar, and honey together until light and fluffy, about 2-3 minutes. (Start on low speed and increase to high speed to get the mixture light and fluffy.) 


 Add the eggs, one by one, mixing well after each addition. Add the vanilla and pumpkin purée. Beat until well mixed.

  In a separate bowl, whisk together the dry ingredients—the flour, baking soda, baking powder, salt and spices. Add the flour mixture and buttermilk alternately to the pumpkin batter, in three additions,  beginning and ending with the flour mixture. You'll need a big bowl if you double the recipe!

 Mix in the pecans and raisins if you are adding them. 


 Arrange paper cupcake holders in a muffin tin. Portion out the batter into the cupcake paper cups, filling them not too close to the top. Bake about 18 minutes, or until a toothpick inserted in the middle comes out clean. Remove from oven to a rack. 
 Let cool completely before frosting.

 ------------------------------------------------------------------------------------------------------
I doubled the recipe and it made 36 regular sized muffins and 24 mini. 
 I only frosted one batch and put frosting inside the minis. 

 In an electric mixer, beat together the cream cheese and butter until smooth. Add maple syrup and confectioners' sugar and mix to combine. Once cupcakes have cooled, apply the frosting.  Cream cheese frosting is so great, you can make it any flavor once you have it mixed up; this one just happens to have maple syrup, but I could have added a little pumpkin if I had extra.
Little bonus:  if you would like to make your own vanilla you can order these little bottles online at http://www.containerandpackaging.com/item/G259,  and vanilla beans at,  http://www.beanilla.com/madagascar-vanilla-beans.  Then head to your local liquor store for some vodka. (SMILE)  Place about 3-4 stems in each bottle and fill with Vodka and let set for 4 months in your cabinet.  I usually do this in Sept and give as little Christmas gifts.  
Here are the frosted ones and the ones with walnuts I did not frost.  Below are the minis!  I just open them up and squeeze some cream cheese frosting inside.  Warning!!!!! These minis are dangerous: they can cause amnesia (I never remember eating that many), and a fat behind if you set on the couch with a plate of them.  You have been warned!

Gluten free does not always mean health food...just saying 


Tuesday, November 12, 2013

Easy Cheesy Quick Rolls

This gluten free bread is so quick you can have it from start to your tummy in 20 minutes.  But don't be fooled you wheat eaters....it is NOT your grandma's biscuits.  These are crisp on the outside and airy and cheesy on the inside.  They are made with tapioca flour, also known as tapioca starch,  it is a starchy white flour that has a slight sweet flavor to it. So these are not going to b e a salty tasting bread unless you add the salt. I'm not trying to talk you out of these, my family loves them and I love how easy they are.   

Here is what you will need: 

1 egg preferably at room temperature, 1/3 cup olive, 2/3 cup milk,,  1 1/2 cups tapioca flour NOT PACKED, 1/2 cup packed grated cheese of your choice, (in South America they use a  queso fresco) and because tapioca is a sweeter flour you will need 1 teaspoon of salt (or more to taste).  They will not be as tasty without the salt. Get your oven preheated to 400 degrees and get started.

The picture doesn't show the salt!  (loser)
You are going to make these in a mini muffin pan because the cook faster and they make EXACTLY 24 little rolls. Don't forget to spray your pan.

Put all your ingredients in your blender starting with the wet ingredients because they pull the tapioca flour down.  But tapioca is really fine, so you may need to scrape down the side during blending.

This batter is NOT thick, so pour it into your mini pan and it should make exactly 24.  Place into your 400 degree preheated oven and bake for about 10-12 minutes.

These things are so quick and cute its ridiculous! Take them out when they look a LITTLE brown, they are easy to cook too long and then they will be too crispy.
These will drop right out of the pan and you can serve immediately, or reheat in the oven, NOT MICROWAVE, before serving. They are great instead of crackers with a stew our soup.   Enjoy and you are welcome...


Wednesday, November 6, 2013

Broccoli and Almond Chicken

 This recipe is healthy, easy, gluten free and really good.  Promise - no sarcasm with that statement!

Here is what you will need: 
3 chicken breasts, 4-6 cups fresh broccoli florets, 1 small bag of sliced almonds, 3 cups dry white or brown rice, 2 tablespoons olive oil, 2 cloves garlic chopped, red pepper flakes to taste, 1 teaspoon dark sesame oil, salt and pepper to taste.  Feeds 4 people

I cut my chicken breasts into strips to get more char on the pieces. It's good to get this going first because it will take the longest. If you don't want to grill it you can cook it however you choose.

Put your water on to boil while the chicken is grilling and flash cook your broccoli.  You don't want it to be soggy and you will 'cook' it again later.  So, once you drop it in the boiling water,  keep it in there for about 30 seconds. (Drain and set aside) Start your rice using the same pot.

Place your almonds evenly on a baking sheet and place in a cool oven.  Start oven to reach 300 degrees and when it reaches that temperature, remove the almonds.  They will be perfectly toasted.

Get your chicken off the grill when it is done and dice.  It can be a little pink as you are going to cook it a little with the other ingredients. Heat your chopped garlic in a pan with olive oil; and when it is tender, add chopped chicken, broccoli and almonds. Drizzle with sesame oil and toss. Then add your seasonings to taste.  The red pepper really adds a great flavor and you would have to use a lot to make it hot.  Serve over rice when heated thoroughly. 
So quick and easy!  Your family is going to love it so much (and you will too) 


In other news, Jennifer Aniston got a bad haircut today.  I can't image her pain.


Tuesday, November 5, 2013

Vitamin C Water (it's that time of the year)

The benefits of Vitamin C are phenomenal

1. Lemons and limes are rich in vitamins, minerals and antioxidants, which may help aid in digestion, respiration and the prevention of cancer. (or so says Lance Armstrong's organization livestrong.com) 

2.  According to Juicing for Health, citrus fruits are somewhat similar to digestive enzymes. Adding them to a warm glass of water can promote better digestion and relieve common symptoms of digestive conditions, such as heartburn, indigestion, gas, bloating, loss of appetite, vomiting and constipation.  
 
Very appropriate since my last post was hot sauce 

4.  The vitamins and nutrients in these citrus fruits may be of benefit in treating symptoms associated with the common cold or flu, including cough and sore throat. 
 
So during the fall I like to keep some citrus water in the fridge because  A.  Lance Armstrong made it through cancer, and  B.  I need to use the spearmint from my garden. (Both fine reasons)
 

One grapefruit, one lemon, one lime and one orange with some mint! 
No gas or flu....SCORE


Home Made Hot Sauce

I love to garden.  Period.  Yet, it is one thing to love a tender plant until it produces it's fruit, and it's an entirely different thing to know what to do with the produce.  I learned that the hard way!  Years ago I planted WAY more than my family could ever eat, and more than my poor neighbors wanted. So, if you want to garden have a plan and the time to prepare what you grow.  Over the years, I have learned what my family loves the most is home made salsa.  I mean, THIS IS TEXAS! We love our hot sauce, hot wings, hot chili and our Tex-Mex food.  My family is no exception.  

This is the amount of hot sauce we will eat until next summer's canning begins!  (the darker is still hot sauce but it is in blue jars) I have a few peach and apple butters left from the summer, but it is mostly HOT SAUCE.  I canned about 75 jars and have given some away, but most of it is in the pantry highly guarded by my boys!  So let's get started on the recipe....You won't see me using "cups", so don't freak out because you cannot mess this up.

Here is what you will need:  5 large and fresh tomatoes or the equivalent of 5 large, 2 bunches of green onions in the bag (you will use the tops and the bottoms), 2 cans of rotel, 2 - 15oz cans of tomato sauce, 5-15 jalapeno peppers based on how hot you want your salsa, 2 T vinegar, 1 T sugar, 1 1/2 t garlic powder, 1 t salt, 1/2 lime, 2 large garlic cloves, and feel free to make it "your own" by adding any spices you like (season salt, paprika, cinlatro ect) This recipe will make about 4-5 pints

Chop ALL your veggies and peppers into BIG chunks because later you are going to put everything in the blender anyway.  I use 5 peppers for a mild sauce, 10 for a medium/hot and 15 for a hot hot sauce! (I use my roasting pan to put everything in before blending because it is the perfect size.)

 
Add ALL the ingredients listed, slightly chopped in the pan. Mix just a little before blending in the blender. (Be sure you use the tops and bottoms of the green onions, it is a MUST)

When limes are our of season, you can place them in the microwave for about 15 seconds and then roll before slicing.  The heat make it juicier.  But if you find you don't have much juice still, add ALL of the lime instead of half.

This picture shows it all together and below is what it looks like blended. 

So when I say blend it, I MEAN BLEND IT!  Liquify that salsa!  Go girl go

When all of the salsa is blended, add it to a big stock pot and cook on a medium low heat until it has cooked down a little.  Stir occasionally and do not cover.  I leave it on the cook top for about 45 minutes.  Sometimes less and sometimes more.  Place it in your well washed ball jars and then in the refrigerator unless you 'can' it.  The salsa should last in the fridge about 4 months. 


There is no sarcasm note today, because this Texas Hot Sauce deserves only respect and adoration!  


Monday, November 4, 2013

Hawaiian Ham Skewers

Oh hey, it's me again with another easy gluten free recipe!  My boys loved this one, but if we are being honest there are not too many things they won't eat. 

I grilled these because we are still having some great nights, even in November, here is Texas; but if you don't want to use the grill you can absolutely broil them in the oven.  Here is what you will need:  skewers, small spiral cut ham, can of pineapples, 3/4 cup brown sugar and brown rice cooked as directed.

(If you follow me at all you know I always say go fresh as often as you can. But in THIS case you CANNOT go with fresh pineapples. Your ham will turn out mushy due to the enzymes in fresh pineapples that break down the meat.) 

Take your brown sugar, spiral  ham and cut it down the middle

Take 3/4 cups of brown sugar and place in a mixing bowl

combine sugar with the pineapple juice from the can

Alternate your ham with pineapples on the skewers and place them on the grill (or under the broiler if you choose)

Baste continually with the brown sugar and juice mixture until the ham is tipped with a brown smoky color

Serve the skewers with brown rice and your choice of veggies or salad.  Baste one more time with sugar and juice before serving to your guests.  This is a great recipe to put together ahead of time if you are in a hurry!