Search This Blog

Showing posts with label chicken. Show all posts

Saturday, May 24, 2014

Gluten Free Spinach Tomato Penne w/chicken

Since I discovered I have Celiac Disease, my favorite gluten free dishes to cook have been pasta dishes.  With so many gluten free pastas on the market your choices are endless!  And although you may think Italian dishes are complicated, they are not.  Basically, most pasta recipes have one of two sauces:  fresh tomato and basil sauce or a cream sauce.  In this dish you will make your tomato sauce into a creamy tomato by using cream cheese.  But other cream sauces are basically a 1/2 and 1/2 cream slowly cooked with parmesan added for thickening. Any Italian dish you choose to make can be adapted to your own taste with fresh mushrooms, basil, red peppers, onions ect.  Let's get this new dish on the table...

Ingredients:
1 bag of gluten free penne
2 chicken breasts grilled
2 Tablespoons of olive oil
1 onion chopped
2-3 cloves of garlic minced depending on your taste
1 teaspoon each of basil & oregano
1/2 to 1 teaspoon of red pepper flakes depending on your taste
1/3 cup of parmesan
1  14oz  can of diced tomatoes
1/2 can of tomato paste
3 oz of cream cheese
2 cups of freshly chopped spinach
salt and pepper to taste
fresh mozzarella to top

Put the chicken on the grill and water on to boil while making the sauce
Place oil over a medium heat and add onion, garlic, basil, oregano, salt and pepper
Once the onion is transparent add the tomatoes and the paste and simmer. 
Do not simmer to the point of decreasing your liquid.
After this step of the sauce you should put your pasta on to boil because it is only about 10-12 min. to completion.
I can honestly say, ANY brand of gluten free pasta is just fine.  How wrong can you go?
Add cream cheese and melt.  Then add parmesan and spinach to the sauce.
About this time your chicken should be finished on the grill.  I go ahead and slice it and turn the grill off
to allow all sides to char. Grate your mozzarella put your dish together to serve!  
 
 
We do a family style plate.  I drain the pasta, place it on a large plate, top it with the sauce, then the chicken and finally the fresh mozzarella and some cracked pepper.  SERVE!!!!!


IN YOUR FACE GLUTEN!


Wednesday, May 14, 2014

One Pot Gluten Free Chicken Pasta

There are many 'one pot' recipes on the internet like this.  But when I am making gluten free I prefer a little extra flavor.  Not that gluten free means "not flavorful"; but when you are making recipes for those who are gluten free due to disease, and not choice, you want to put your best foot forward.  (Or spoon)

Here is what you need:

1 package of Cadia Brown Rice Spaghetti  (use about 12 oz)
1 pkg of pre-cut chicken fajita meat- cut into smaller bites or 1 boiled chicken breast
24 cherry tomatoes cut in two pieces
2 cloves of garlic chopped
2 green onions chopped (top and bottom)
Red pepper and salt to taste
1 cup chicken broth
2 1/2 cups water
2 T olive oil
3 oz cream cheese
 

Put it everything in a low pan EXCEPT THE CREAM CHEESE.  I know, my picture has it in there. (my bad)  Now, bring to a boil on a high heat. Once it begins to boil you need to continually stir the pasta from the bottom of the pan for about 9-10 minutes or until most of the water is absorbed and pasta is tender.  I do turn the heat down to a high simmer and not keep a rolling boil going because it sticks.  Then, while it is hot stir in the cream cheese until melted.
 
Serve immediately maybe with a nice fresh spinach and vinaigrette. And I always have some gluten free bread handy so I cut it and pop it in the oven with butter and garlic powder.   
Quick & easy, like child labor.
(Maybe not)
  
I have to learn NOT to SAY, "supper is ready" before I get one last picture....GEEZ

Monday, May 12, 2014

Gluten Free Grilled Chicken Cordon Bleu & Asparagus

This is a truly easy and healthy recipe. So, after you are finished eating you can go get ice cream! I am including the asparagus recipe because it's easier to make them together, you'll see. The ingredients are simple:

3-4 chicken breast butterflied
2 pieces of ham per breasts
2 pieces of Swiss per breasts

1 bunch of asparagus
1 egg
1 cup milk
2 cups gluten free bread crumbs
Salt, pepper and parmesan to taste
Toothpicks
 
Start your grill and preheat your oven to  325 degrees.  Butterfly your chicken breasts and lay the insides down on your grill.  When they are cooked, turn them over and stuff them with ham and Swiss. Take your toothpicks and do your best at 'holding them together'. 
So, now you have the inside of the chicken, where the ham and Swiss are, cooked. It is held together with the toothpicks and this is where I turn the grill off and close the lid.  I leave the chicken on the grill while I prepare the asparagus....

Whisk your egg & milk together.  Since this veggie is long, I put the mixture on a plate and not in a bowl.  Roll in the milk, and then dredge in Gluten Free bread crumbs that you salt and pepper to taste.  Place on a greased cookie sheet.  KEEP your milk mixture and crumbs which are left over.  Get your chicken off of the grill. Carefully take the top of the chicken breast and dip it in the milk mixture, then the remainder of the bread crumbs.  Place on greased cooking sheet  for baking. You will bake it, with the chicken, at the same temperature and time. 


 Sprinkle parmesan on everything to taste and place both the asparagus and the chicken breasts in the oven, for about 30 minutes or until the chicken is golden brown and the cheese melted.
This is the end result and it's quite filling.  The chicken will have a nice grilled taste to it, but you have to finish it in the oven when adding the bread crumbs.  If you do not choose to bread it, you can complete the chicken on the grill using sprayed foil to catch the melting cheese.
 
NOTE:  I make my own gluten free bread & use a few pieces of it in a mini food processor to make crumbs.  They keep just fine in the freezer & you can use them directly from the freezer when needed.  Purchased G-FREE crumbs are expensive & a waste if you make your own bread.


I hope you enjoy this meal then go and have some fun!  Life is short
 

Thursday, February 13, 2014

(Quick and Easy) Gluten Free Chicken Fried Rice


A lot of Chinese food can be gluten free, but you have to make it at home!  Sorry, to burst your bubble.  This is a go to recipe for my family because it is quick and easy.  My gluten eating family members will stop and get egg rolls at the drive through for themselves when I make this little gem.  (But I do not partake)
 
Here is what you need:
2 cups of uncooked rice
2 chicken breast uncooked and cubed
2 Tablespoons of Roasted sesame oil + 2 T. of olive oil or butter
2 teaspoons of pepper
2 teaspoons of garlic chopped
3 green onions, sliced  
2 cups frozen peas and carrots (thawed)--- you can do this in the microwave if you are giving me a big "WHAT? It's still frozen?"
2 Tablespoons of Gluten Free Soy Sauce or more if you like  
2-4 eggs slightly beaten (we like 4)  
Salt and pepper to taste


Put your water on to boil for your rice and follow the directions on the package.  Also, heat your sesame oil and add your cubed chicken breast with 2 teaspoons of pepper. 

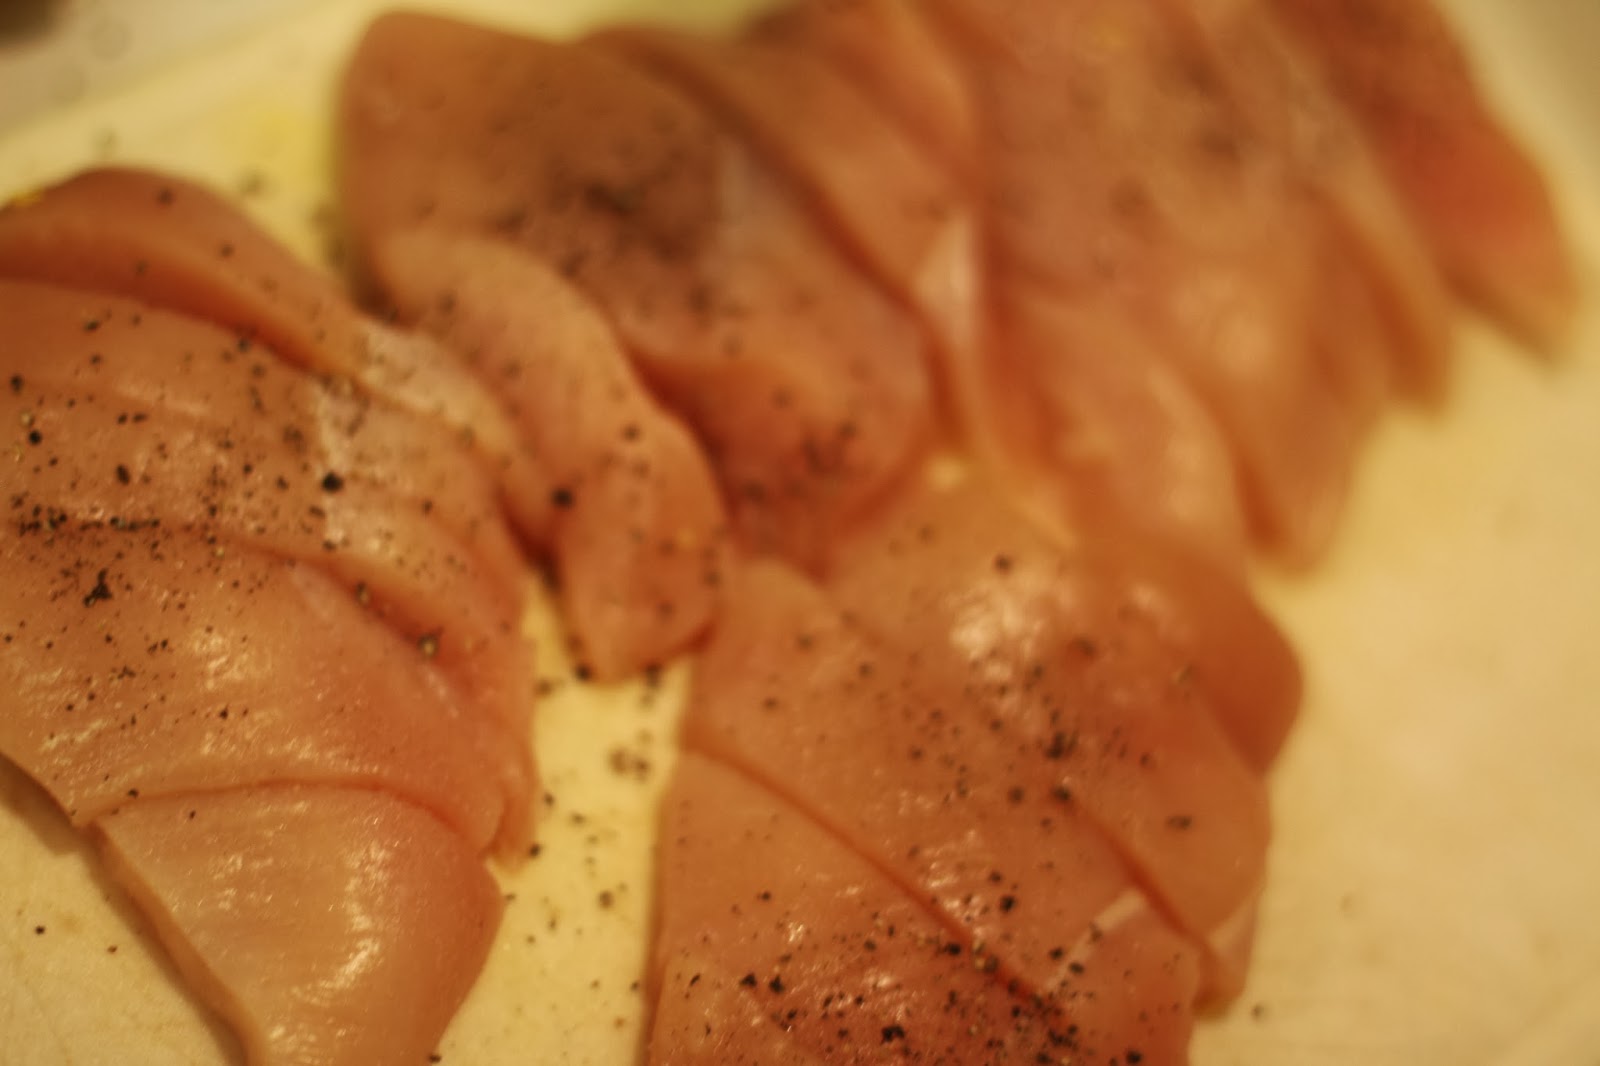
The toasted sesame oil gives the chicken a nice toasty flavor.  Cook until no pink shows...unlike the above picture! Then set aside until your rice is complete.
I do not know if you have seen these in your frozen food section but they are AMAZING!
They are little cubes of frozen garlic and other herbs like cilantro, basil ect. each little cube
pops out with a teaspoon of perfection and stays fresh.  I mean really?  I sincerely jumped up and down in the frozen food section when I saw these. (cook nerd)

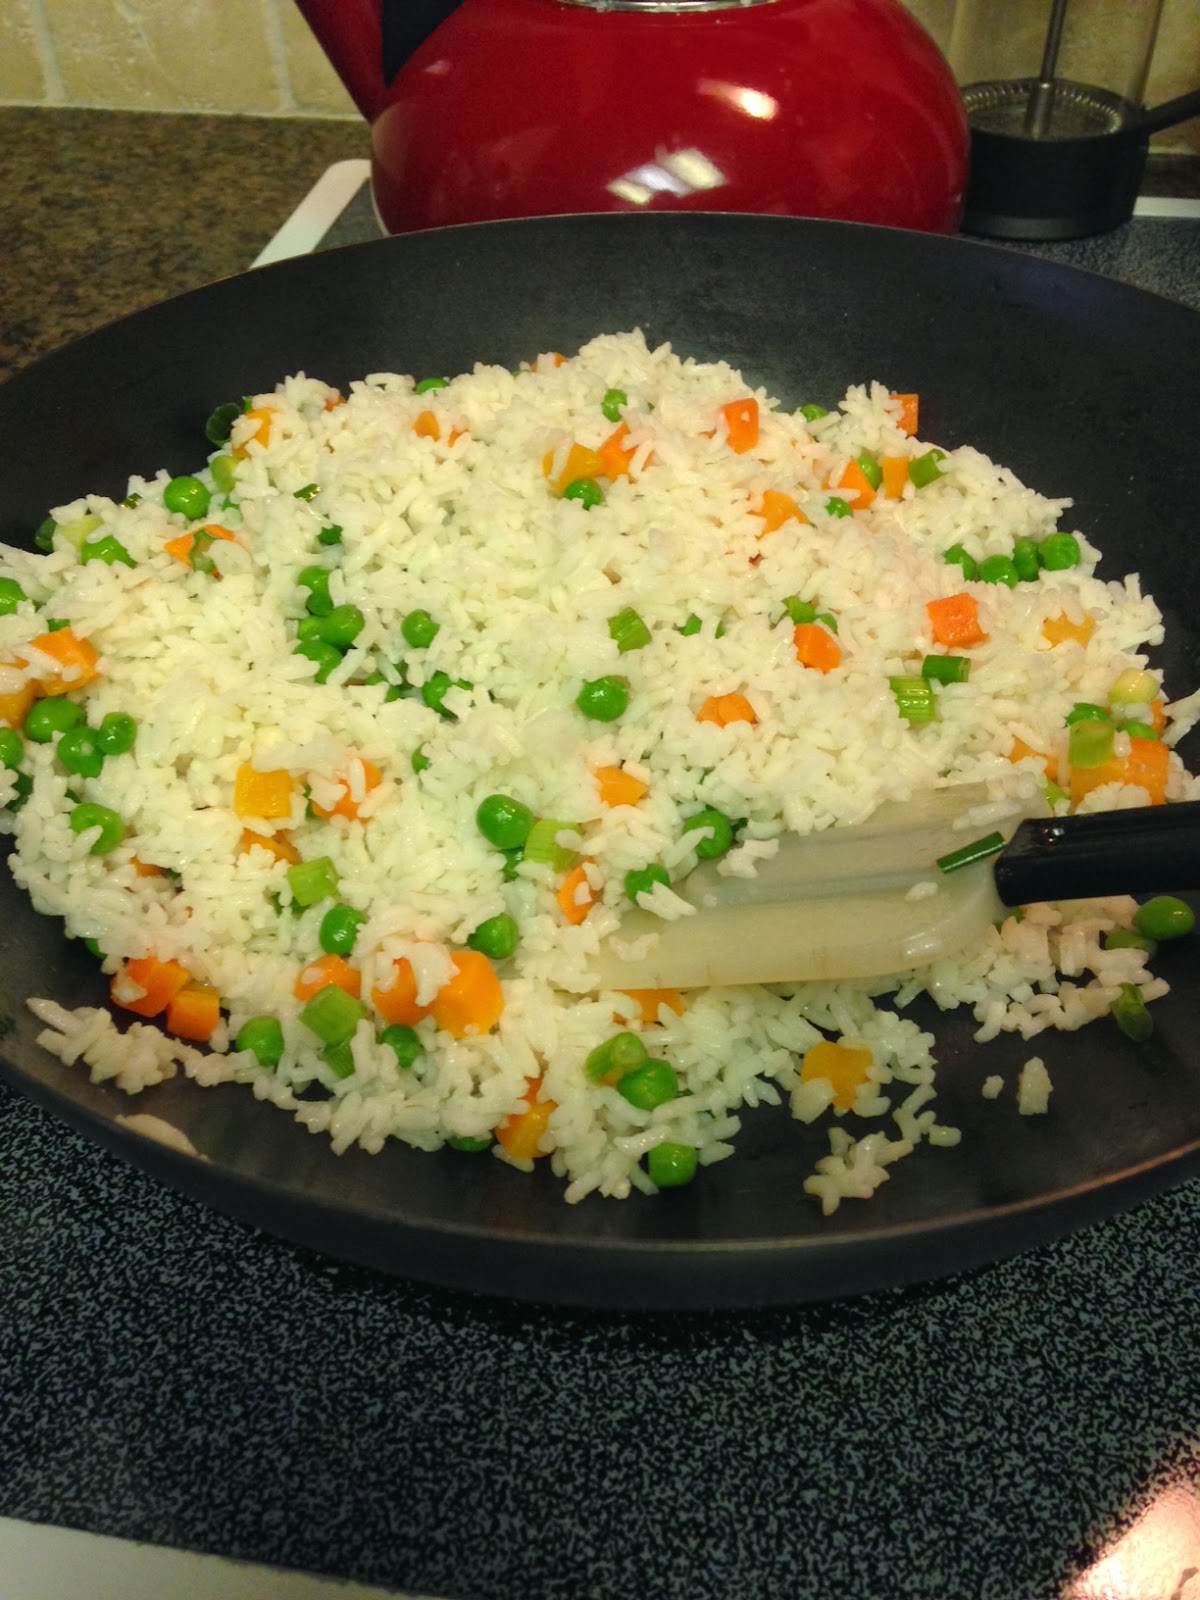
 Add a little oil to your pan on a low to medium low heat, then add rice, peas, carrots, onions, & garlic and cook for a few minutes until warm throughout.
When warm, push the rice to the side of your pan or wok, and put your slightly beaten beside it.  When they begin to cook you can mix them into the rice.  Remember, I said we like 4 eggs?  I put two in the pan and cook two in the microwave and add them later. Yes, the microwave for about 1 minute.  It make beautiful soft eggs. 
Add your chicken to the rice and veggies and then add your gluten free soy sauce. 
Your finished dish should look very similar to what you order in the restaurant.  It is a simple, one dish dinner.  Easy, not a lot of clean up and it's gluten free. 
 
哇靠,这是真棒

Monday, February 10, 2014

Chicken, Bacon and Wild Rice Soup (Gluten free)

It is February in Texas, such a glorious time of year.  Bathing suits, sunglasses and sun screen....NOT!!!! (I am so over this weather people) I think Carl Reiner said it best when he said, “A lot of people like snow. I find it to be an unnecessary freezing of water.”  I know, it is not as cold as Minnesota, or Canada but I don't live there!  I live in West Texas, and being a Texas woman,  I may as well ease the pain of this 22 degree high by cooking a great, meal for my family. 
 
This soup is a hearty, full soup.  Not low in calories but high in comfort for sure.  For it to be gluten free you have to make your own broth or buy broth stating it is GF, and you MUST use
Gluten Free All Purpose Flour. 
 
Here are the ingredients you need:
  • 2 chicken breasts, boiled and cubed
  • 6-8 slices of bacon cooked and crumbled 
  • 5 cups of water to boil your chicken in, thereby making your own broth
  • 2 Knorr Chicken bouillon cubes (or your gluten free choice)
  • 1 cup of uncooked wild rice
  • 1/2 cup green onions chopped (not too much of the green)
  • 1/2 cup celery chopped
  • 1/2 cup butter
  • 1/4 cup gluten free all purpose flour
  • salt and pepper to taste
  • 1/4 teaspoon poultry seasoning
  • 2 cups half and half
  • 3 Tablespoons of pimiento
  • 1/4 cup of dry sherry
 
Place your chicken breasts on a low boil in 5 cups of water, season water heartily with salt and pepper.  Place your bacon in the oven on broil while chicken is low boiling.  I trim a lot of the fat off of the bacon because I don't like it in my soup, but you can do whatever your family prefers.  Once chicken is cooked, strain your water to clean it up, and add your bouillon cubes, rice, celery and onion.  Remove bacon from the oven and crumble.
Set meats aside for now.


In a medium saucepan, melt butter, stir in flour, salt, pepper and poultry seasoning. Heat to medium low, stirring constantly, until smooth and a little bubbly. Gradually stir in half and half with the butter/flour mixture and cook until slightly thickened, stirring constantly.
 
Add this creamy mixture into the pot with the rice/broth. Add remaining ingredients (chicken, bacon, pimiento, and sherry). Heat on low, NOT boiling and NOT covered.  The 1/2 and 1/2 will scorch on the bottom quickly if you heat too fast. The soup may look thin, but the longer you heat the soup, the more it will thicken.
 (If it is thicker than you prefer in the beginning add water to thin it) 
My boys like it thick enough to eat with a fork (that's not soup boys-that's a casserole)

This soup is so great on a cold day.  I baked a home made loaf of gluten free bread and toasted it for complementing the soup. It was so good, my son had me call him out of school at lunch the next day to finish it off!  This recipe will make about 6-8 bowls.


Thursday, January 30, 2014

Honey Mustard gluten free chicken

There are a lot of coatings for chicken out there, but for gluten free you have to be very careful.  You will find that this recipe is a wonderful, healthy alternative!


Here is what you need:
2 cups Gluten Free  crumbs
2 cups pretzel crumbs
½ cup olive oil
½ cup Dijon mustard
cup honey
¼ cup water
3 tablespoons red wine vinegar
1 t coarse salt and fresh ground black pepper
3  boneless chicken breasts cut into slices
1/4 cup gluten free flour
Preheat the oven to 400° F. Lightly grease with oil a large, non-stick baking sheet.  In a large skillet over medium heat toast the panko crumbs until lightly golden, and I am telling you they burn FAST so don't look away!  Remove from the pan and cool. In a food processor pulse the pretzels until coarsely ground and mix with the panko crumbs.
 Wipe the crumbs out of the food processor. Add the oil, mustard, honey, water and vinegar to the food processor and pulse until smooth and pour into a bowl. Cut your chicken into strips and season well with salt and pepper.  


 Pour half of the dressing into a large shallow bowl,  put the flour into the pretzel/crumb mixture and combine.  Dredge the chicken in the mustard mixture and then the four/pretzel mixture.  Press the mixture on the chicken if needed. Place on greased baking sheet.  Bake 25 minutes depending on their thickness/size or until cooked through your largest strip is cut into and no pink remains.  Let the chicken sit 5 minutes before serving with the remaining honey mustard dressing.

Want to know something?  I like to cook more than I like to eat!  
(dripping with sarcasm)

Chicken and Tomatillo Enchiladas (Gluten Free of course)

I usually take pictures as I go and give step by step instructions, but when you are making enchiladas you have several things going at once so I will give you the recipe all at once with pictures sprinkled in little by little....These are so great and there are some wonderful tips along the way.  Let's go, it's almost supper time!

Here is what you will need:


  • 3 chicken breasts
  • tomatillos, papery husks removed, rinsed
  • 1-2 serrano chile peppers, prick with fork or knife so flavor releases in boiling
  • 2 cloves garlic
  •  1 small onion
  • Salt 
  • Cilantro to taste (my family doesn't like it too much)
  • 1 bunch cilantro, rinsed and chopped, stems included
  • canola oil or peanut oil
  • 12 corn tortillas
  • 1/2 cup sour cream
  • 1/4 cup queso fresco cheese & 1/4 cup sharp cheddar  (or your choice of cheese to 1/2 cup)


1. Put chicken medium sized saucepan and just cover with water. Add one clove of garlic that has been cut in half, 1/4 of an onion, and 1 teaspoon of salt to the water. Bring to a boil, reduce to a low simmer, for 20 minutes or until the thickest piece of your chicken does not show pink when cut into,  Remove chicken from water and let cool.


2. While the chicken is cooking, put the tomatillos and serrano chile peppers in a separate sauce pan and cover them with water. Bring to a boil, reduce to a simmer. Simmer until the tomatillos are cooked, and have changed color, but are not mushy, about 5-7 minutes. Remove from heat. Transfer tomatillos and serranos to a blender. Add 2 cloves of garlic, a third a cup of your chopped onion, and about 1/4 cup of chopped cilantro. (Remaining chopped onion and cilantro will be used for garnish.) Add one teaspoon of salt. Purée until completely blended. Taste for heat. If not spicy enough add another chile pepper (doesn't have to be cooked). Note that sour cream will eventually be added to the sauce which will cool down a lot of the spiciness. Add more salt to taste if necessary. 


             This sauce is a beautiful color!


 3.  Get our your hand mixer, yes...I said hand mixer!  Turn it on medium speed and place it on top of the whole chicken breasts.  It will begin to shred and you will be so happy with me!   Put the chicken in a bowl and add 1/2 cup of the tomatillo sauce to the chicken. Taste the chicken; if it needs salt, add a little.


 So much quicker than using forks to shred!


4.  Cover  the bottom of a pan with oil and raise to medium high heat. Add a tortilla to the pan and use a metal spatula to flip it to the other side. Place another tortilla on top of this one (to soak up the excess oil) and flip again, then remove them to a plate lined with paper towel. You only need to soften the tortilla for rolling.  A few seconds on each side. When your tortillas are cooled, scoop a spoonful of chicken into the center of the tortilla and roll up the tortilla. Place your enchiladas in a greased baking dish.

5 Heat the other half of the salsa verde sauce until simmering, then remove from heat. Stir in the sour cream until well blended, and pour salsa verde sauce over all of them. Top with chopped onion, cheese, and cilantro. 

Serve immediately. Serve with extra garnishes of onion, cheese, and cilantro on the side. 

 On occasion, I will make roast a few days before I make enchiladas so I can make a small batch of beef enchiladas.  I just shred it, add my home made hot sauce to the beef, and a nice shredded SMOKED cheese.  Easy and great for those who don't want just chicken.  

Friday, December 13, 2013

Fire Roasted Tomato & Jalepeno Chicken and Rice

If you follow this blog, you will know this recipe is relatively close to my pollo picante.  The difference is you use picante sauce for the pollo picante and you are making your sauce from scratch with this one.  Trust me, this is not a difficult recipe and the result is worth the time you will put into it. In addition, if you are a gardener, and had a few green tomatoes left (I had 9 gallons) this is a great recipe for utilizing them verses CANNING more.  Goodness knows how much I love to can by the end of the summer...NOT

TIP:  If you are facing a cold front with green tomatoes on the vine, just pick them all and place in a cool dark place with news paper under AND OVER them to catch the gasses they emit.  Check periodically because they will turn quicker than you realize!  Now on to the recipe...


This is what you will need: 
3-4 chicken breasts,  2 cups of fire roasted & peeled (grilled tomatoes), 2 large jalapenos also roasted and seeded, 3 green onions cut into chunks,  1/2 lime, 1 large clove of garlic, sea salt to taste, 2 cups of cheddar or colby-jack cheese and fresh cilantro to taste.  You may complement your dish with sour cream, fresh tomatoes or avocado slices.  Serving suggestion:  1 can of black or pinto beans and 2 cups dry white rice cooked as directed. We also enjoy a nice salad with this particular dish.


Prepare your chicken and place in a greased dish with high sides.

Roast your tomatoes and peppers slowly and on the top shelf of your grill on a low fire.  When you have one side scorched as below then turn and continue until soft and the skins are splitting.  I leave the skins on the jalapenos but remove the skin and stem area from the tomatoes.  While preparing the ingredients, let your tomatoes set and drain them because you want your sauce thick and full and not watery.


Depending on how hot you desire your sauce to be, will determine how many of the seeds you allow in the salsa.  My kids are not fond with anything too hot, so I basically remove all the pepper's seeds.
Add your tomatoes, peppers, garlic, onion, lime juice and seasonings to a blender.

Set on LOW, and pulse.  You want your sauce to be full and chunky. Pour 3/4 of your sauce over the chicken  breasts and cover.  Bake on 350 degrees for 25 minutes,  remove cover, top with cheese and bake until melted.  You may want to pour some of your liquid off of the chicken but because you serve with beans and rice it should be fine and add flavor.
Add the remainder of your sauce to your beans of choice and set on a medium low heat while you are preparing your rice. 
Once rice is completed add to your beans.  When chicken is ready serve with chips or fresh tortillas & salad. 


When my son made his plate, he did not add a great deal of the salsa and apparently did not want salad or anything pretty on his plate!  (Meat and taters man he is) He says he should  not have to eat what his food eats...

I JUST ADORE TEENAGERS...